

What you Need
 13 x 19 cardboard cake plates
- X-acto knife and cutting mat
- Long ruler
- Elastics or safety pins

Fabric Mini-Bolts
 1. Cut your cardboard to 13 x 15 sheets. No worries, you’ll use the remnants afterward.
 2.Cut your sheet to three 13 x 5 rectangles.
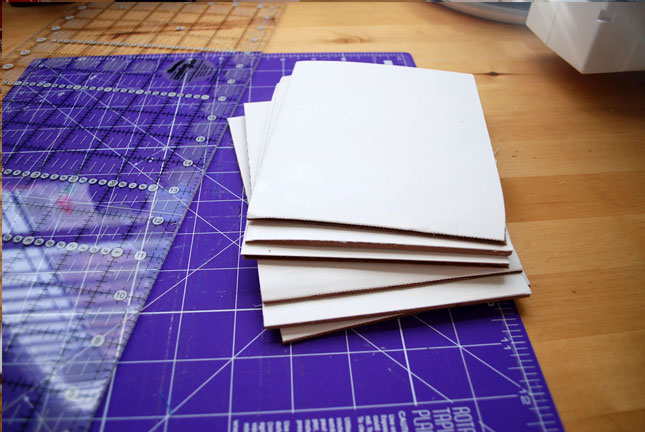 3. Cut your rectangles to 6.5 x 5 mini bolts. When done, you should have 18 mini bolts.
 4. Find a flat surface, and open up your fabric, but keep it’s mid-width fold. Bring your mini bolt to the left edge, and fold over half the length of the cardboard.
 5. Flip the fabric with the bolt upward, keeping the fabric taught against the bolt.
6. One you’ve rolled it all the way up, it’s time to start folding the fabric onto the bolts, keeping the fabric taught the whole way.
7. Tie off using a rubber band to keep the fabric secure to the bolt. Voilà! (See what I did there? I showed you I’m French, eh!? I’m also Canadian, but you’ve probably noticed by the way I spell grey and favourite, travelled and centre.)

Bias tape, ribbon and rickrack organizer

1. With Cardboard remnant, cut in half lengthwise (2 inches should be the middle).
 2. Then cut them again in half (at 6.5 inches)
 3. Wrap your ribbon (or whatever your vice may be) and secure it by inserting a pin diagonally into the corrugation on the side.
 4. You can go an extra step and make them super fancy by placing the finished product into a glass cookie jar. I just keep mine filed in a plastic container.
No comments:
Post a Comment